Landscape photography is one of the most rewarding categories in the world of imagery. Standing in front of a breathtaking scene — mountains glowing in golden hour, waves crashing against the shore, or a quiet forest filled with morning mist — reminds us why we pick up a camera in the first place. Capturing the beauty of nature allows us to preserve moments that often feel too magical to describe. But great landscape photos don’t happen by accident. They are the result of planning, patience, understanding light, and mastering composition.
Professional creators, including teams like Noan Photography, often say that landscape photography is a blend of technical skill and emotional connection. The more you understand your environment and equipment, the more powerfully you can translate nature’s beauty into a still image.
Understanding the Power of Light
Light is the most important element in landscape photography. You could be standing in the most stunning location on Earth, but without good light, your image will fall flat.
1. Golden Hour
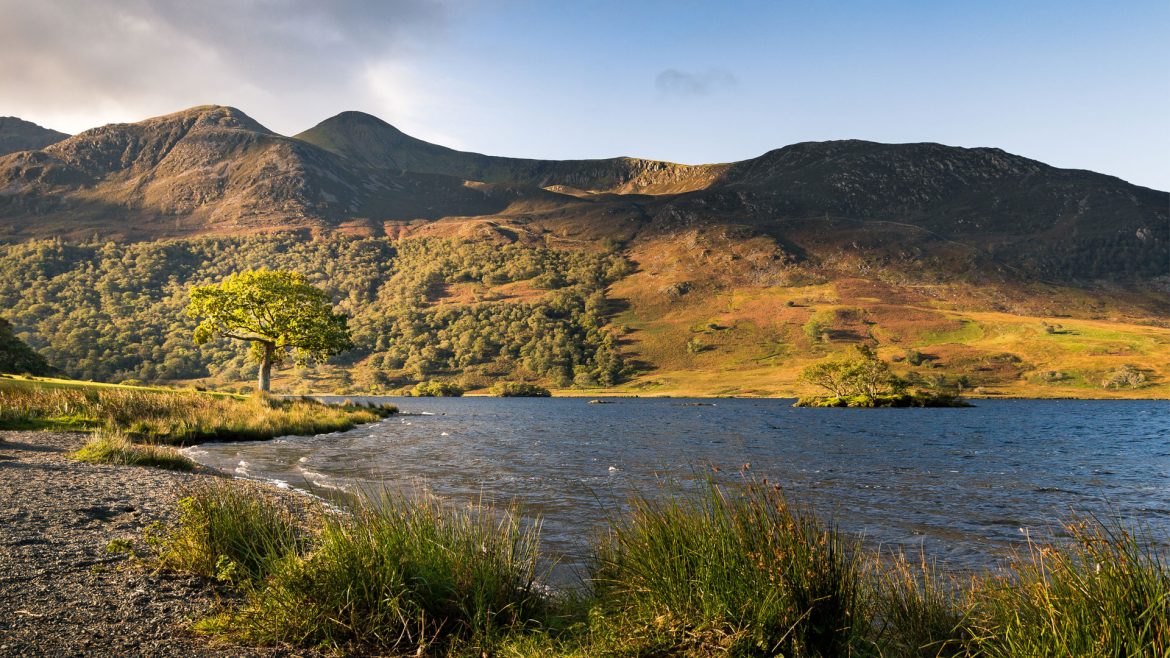
Golden hour — just after sunrise and before sunset — is the holy grail for landscape photographers. During this time:
- Light is soft and warm
- Shadows are long
- Colors appear richer
- The atmosphere feels magical
This light adds depth and emotion to your landscapes.

2. Blue Hour
Blue hour occurs before sunrise and after sunset. The sky becomes a soft blue, and the world feels quiet and dreamy. This lighting is ideal for:
- Cityscapes
- Lakes and reflections
- Minimalist landscapes
- Moody scenes
Blue hour creates serene and mystical images.
3. Midday Sun
Midday light is harsh and bright, but it can be used creatively:
- High-contrast images
- Dramatic mountains
- Desert scenes
- Crystal-clear waters
Use a polarizing filter during midday to cut glare and deepen blues.
4. Storm Light
Storms create some of the most dramatic lighting conditions:
- Dark clouds
- Sharp sun rays
- Strong contrast
- Moody colors
Shooting before or after a storm often creates unforgettable images.
Mastering Composition
Composition separates snapshots from compelling art. Landscape photography thrives on strong visual structure that guides the viewer’s eye.
1. Rule of Thirds
Divide your frame into thirds horizontally and vertically. Place key elements (mountains, horizon lines, trees) along those lines for natural balance.
2. Leading Lines
Use natural elements to guide the eye:
- Rivers
- Roads
- Shorelines
- Fences
- Shadows
Leading lines add depth and direction to your scene.
3. Foreground Interest
One of the biggest mistakes beginners make is ignoring the foreground. Adding elements like:
- Rocks
- Flowers
- Grass
- Logs
- Water ripples
can transform your photo from flat to immersive.
4. Symmetry and Reflections
Reflections in lakes or calm water create symmetrical, visually striking images.
5. Framing
Use natural frames such as:
- Trees
- Caves
- Arches
- Windows
Framing adds dimension and holds viewer attention.
Choosing the Right Gear
You don’t need the most expensive equipment, but certain tools make landscape photography easier and more effective.
1. Wide-Angle Lens
Wide lenses (14–35mm range) capture more of the scene and enhance depth.
2. Tripod
A sturdy tripod ensures:
- Sharp long exposures
- Stable low-light shots
- Precision composition
3. Filters
Essential filters include:
- Polarizers to reduce glare and deepen skies
- ND filters for smooth waterfalls and long exposures
- Graduated ND to balance bright skies and dark foregrounds
4. Remote Shutter or Timer
This prevents camera shake during long exposures.
Essential Camera Settings
Landscape photography benefits from consistent and intentional settings.
1. Aperture
Use f/8 to f/16 for maximum depth of field.
2. ISO
Keep ISO as low as possible (100–200) to avoid noise.
3. Shutter Speed
Use fast shutter speeds for sharp scenes or slow speeds for creative effects like silky water.
4. Focus
Use manual focus or focus on a point one-third into the scene for perfect sharpness.
Planning Your Shoot
Great landscapes often require preparation.
1. Scout Locations
Use apps like Google Earth, Instagram, or photo-sharing platforms to find inspiration.
2. Check the Weather
Clouds, fog, storms, and sunlight dramatically influence your image.
3. Arrive Early
Give yourself time to:
- Pick the best angle
- Set up your gear
- Adjust your settings
- Wait for ideal light
4. Be Patient
Sometimes the best shot arrives after waiting 20–30 minutes for light to shift.
Editing Your Landscape Photos
Editing helps enhance the emotion of your image without losing authenticity.
Key adjustments include:
- Exposure
- Contrast
- Highlights and shadows
- Color balance
- Clarity and texture
- Lens correction
Always maintain a natural look unless pursuing an artistic style.
Final Thoughts
Landscape photography is a journey of exploration, patience, and creativity. It challenges you to observe the world more closely and appreciate the subtle beauty in every environment. Whether you’re hiking up a mountain, walking through a quiet forest, or photographing a sunset over a calm ocean, each frame becomes a chance to capture something timeless.
As you practice and refine your approach, you’ll discover your unique style and voice as a photographer. Nature is always changing — and so will your art.